Saturday, April 5, 2014

Safari Adventure

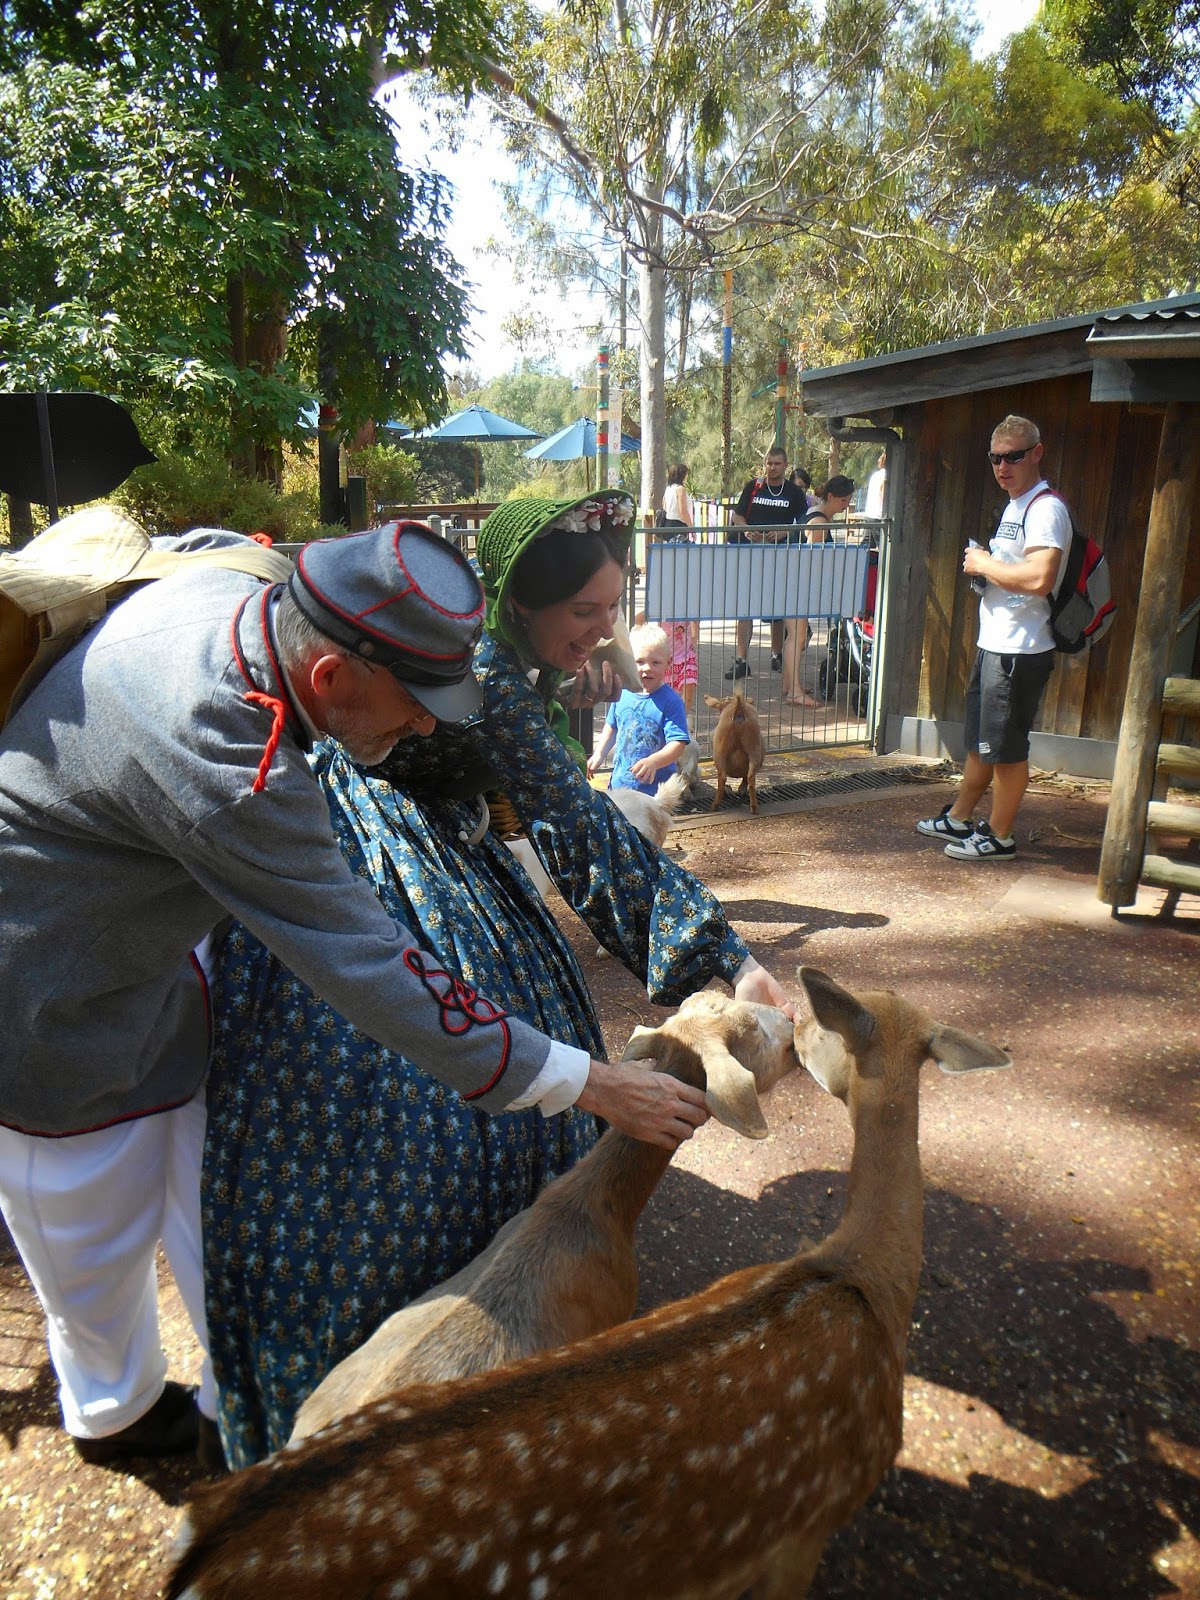
After last weeks fun at the zoo, a few of us who live near Murray Bridge decided to take up the half price offer of attending Monarto Zoo. This was a last minute decision, but it was still great fun. Nic and I decided to dress in 1860s. This meant that Nic was able to research which type of pith helmet we should wear. It turned out that the tall ones were first used in the 1840s. In the past I have always linked pith helmets with the Edwardian and Late Victorian Period. While they were army issue, Nic believes that they would also have been available to civilians travelling in areas requiring them. Jessie was in 1890s and dad in 1920s so they wore the later rounded style. We also had Theresa and Andrew to keep us company in modern clothing. I think we are blessed to have so many interesting places that we can go and visit. We are looking forward to more fun adventures in the future.


 Monarto Zoo has an interesting set up. You drive into the park and park in a visitors center. At the center you get on a bus. The buses go ever 20 minutes. The buses take you through the enclosures. At a few locations you can get off the bus and follow walking trails to amazing lookouts over the various enclosures. These lookouts gave some of the most amazing views.

 Nic looking for a new trophy at the waterhole lookout, which looks out over the giraffe, ostrich and some types of antelopes. 
 Nic lent me his telescope to get a better view.
 Dad, just enjoying the day.


 Dad and Nic looking for the elusive cheetahs. It was a warm day and we found them sleeping under a tree on the far side of their enclosure.
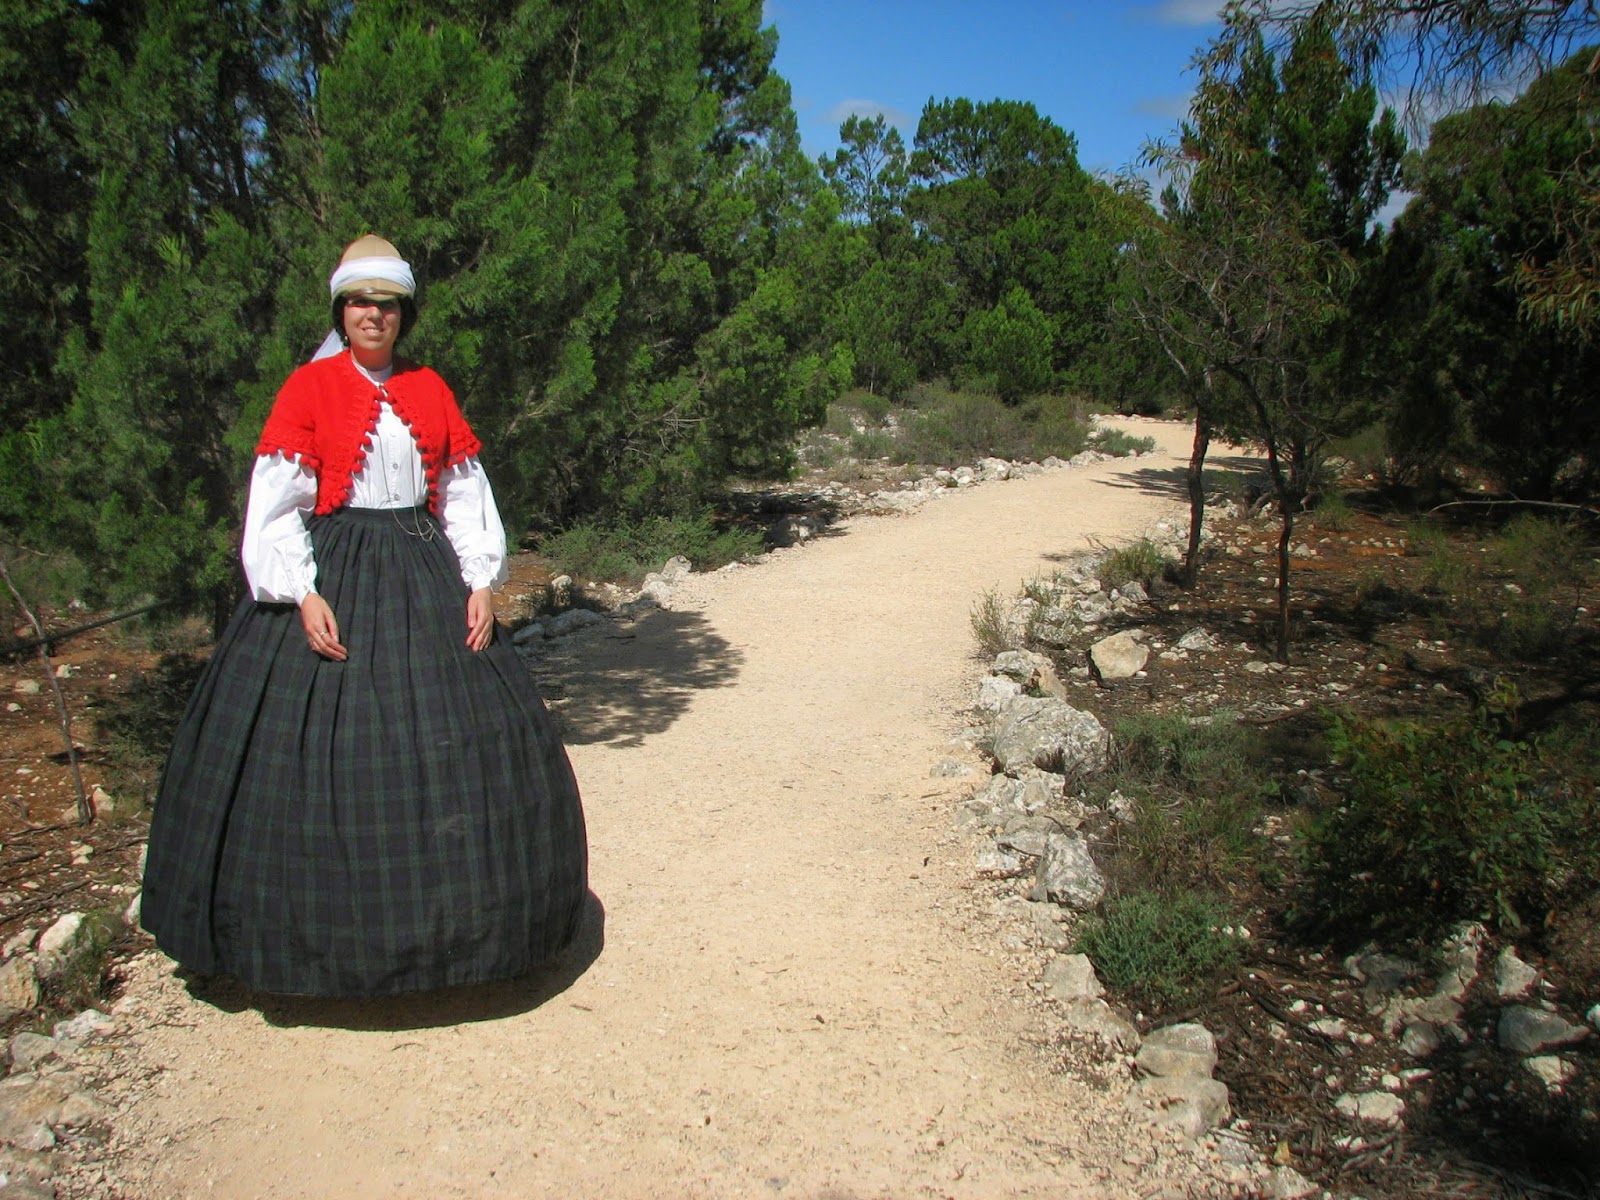
 The footpaths to the lookouts were really nice. Volunteers have been planting a lot of local native plants to re-vegetate the area. 
 We had a picnic lunch at the Visitors Center (not very period I know, but I have been very busy with sorting out work this week).
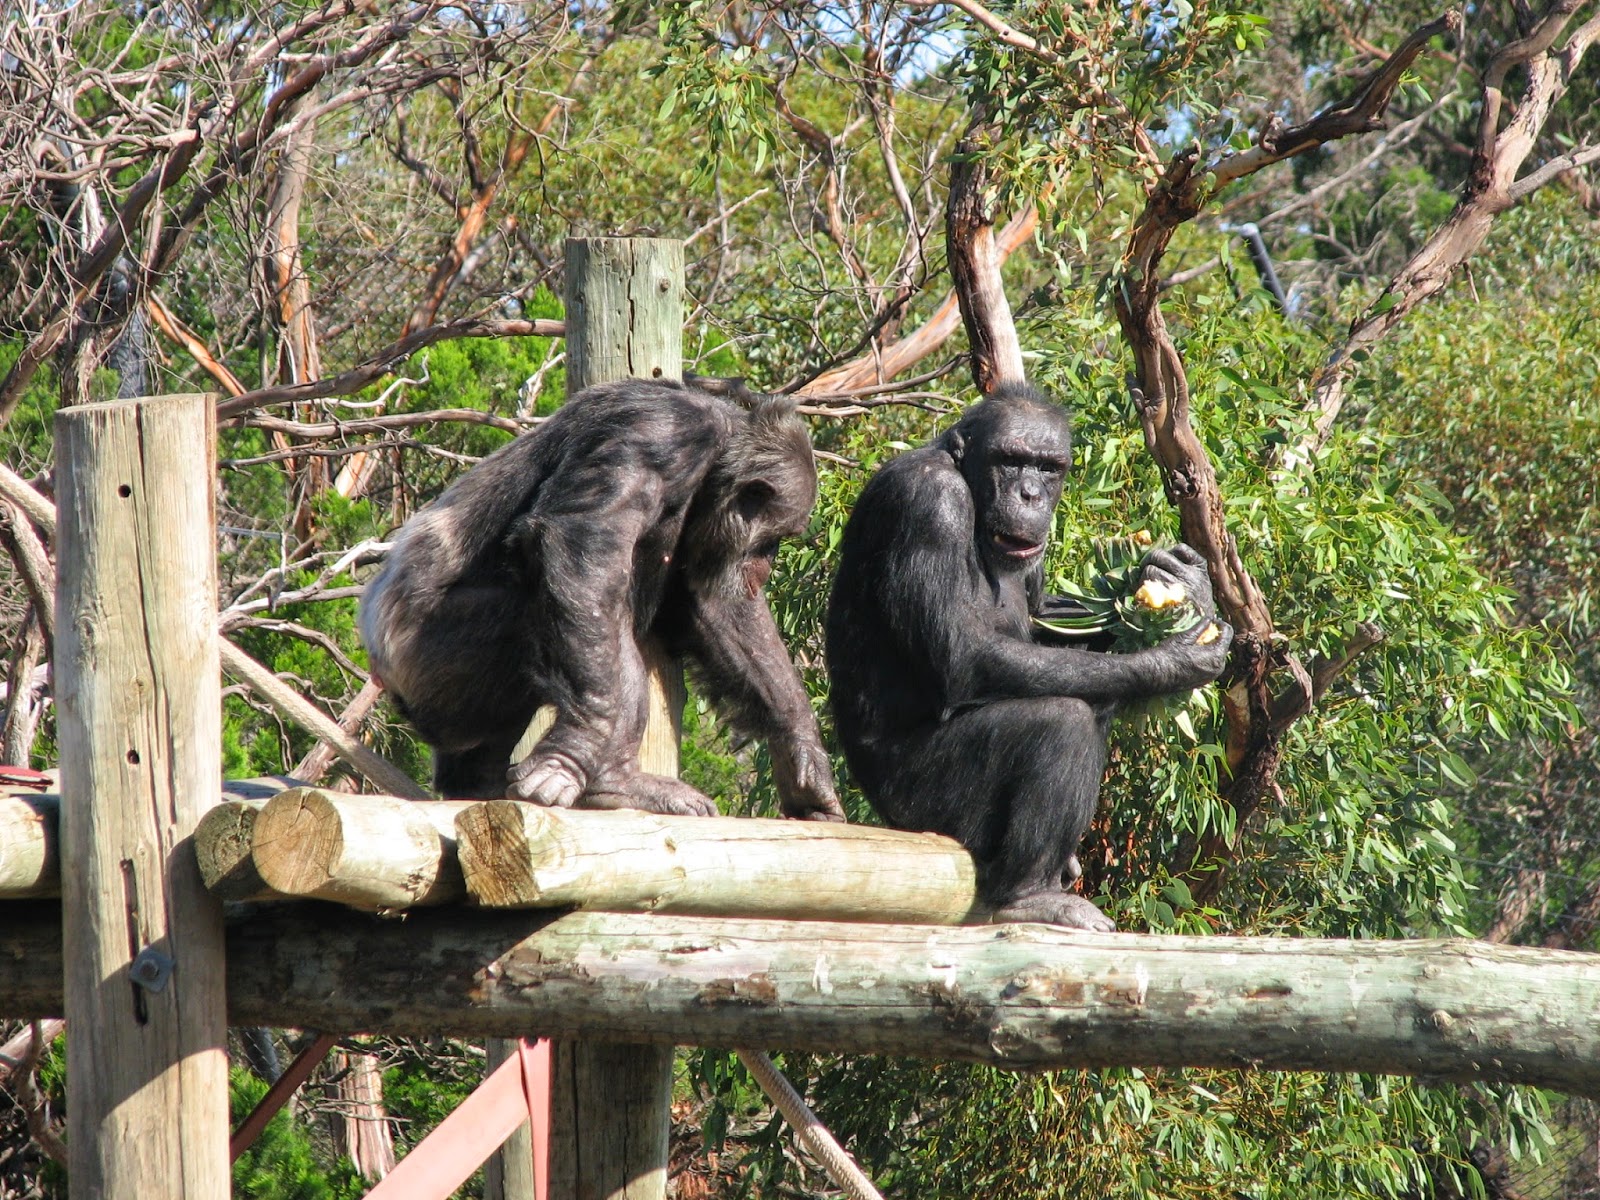
 We ended the day at the Chimpanzee Enclosure. They were amazing. We were able to watch them go into their night quarters for dinner. Wow they are scary when fighting over food.
 On the walk back to the Visitors Center we saw this amazing Yellow Tail Rock Wallaby. So Pretty.
 To end the day we had a group photo. Left to right Jessie, Paul (dad), Nic and Me.
The group photo was taken near the Meerkats. This little guy was fascinated by the size of my skirt and came over to investigate. 

Sunday, March 30, 2014

Happy Birthday

Today was my birthday. It was also a Zoological Promenade Day for the Victoriana Society. It was great to see my friends, dress in period attire and visit the zoo. Nic had not been to the zoo since he was little and I had not been since I first moved back home from China.

This month was also Jessie's birthday and Nic's birthday so we decided to celebrate all of our birthdays today.
 I know I mentioned my hair the other day, but it is amazing the difference longer hair makes. This took only 10 minutes to tease, rat and braid. The same style used to look a lot smaller and took me over half an hour. My bonnet also now sit on my head a lot better and tighter. I do not have to rely on hat pins to keep them attached anymore.
 Everyone gathered at the front gate awaiting any late arrivals. It was quite a shame, but they made Nic place his sword in safekeeping at the visitor station at the entrance. I guess they don't trust Victorians around all those amazing pelts, which is funny as they had a pelt stand just inside the door to educate against killing animals and all we could do was discuss the merits of each pelt and recommending different articles that they would be most suited to. This is especially pertinent as it is almost winter here and we do have an ice skating day in a few months and I could use a muff and winter hood. Thankfully the staff did have a good sense of humour. 
 We had 3 birthdays this month so I shared the day with Nic (13th March) and Jessie (24th March). We each had our own cupcake and candle.
 Sorry it is blurry, but the camera had an accident and it took a while to get the settings sorted.

 Adelaide Zoo is the only zoo in Australia with a Panda breeding program. It was happily ignoring the crowd and eating bamboo. I must have made an impression as it stopped eating to stare at me for a while. 
 Today was exciting as it was the first time that Nic was able to wear his French Crimean War chasseurs d'afrique uniform. It is a very striking uniform. 
The avairy was amazing. There were birds flying all around us. 
I think that the lion saw Nic's pants and thought of dinner as a second later she gave a huge raw that almost made me drop the camera.
 

This little fellow was sooo adorable. He was cuddly and licked my hands. He also tired to steal the sandwiches from my basket...
 At the children's petting zoo I begged my dad for $2 for a bag of food to feed the animals. It was great fun. They gentlemen made fun of my wanting to join in on the feeding, but they still had a turn and I'm sure I see laughter and smiles. I believe it is important to get in touch with your inner child sometimes.


 Some of the goats did get a little demanding for the food. It was funny how at first one of them bounced off of my crinoline, until they learnt how to hook their hooves onto the wires to keep themselves upright.  
I don't think I would want to spend my birthday any other way. A few of us are thinking of heading to the safari park at Monato next Saturday. Still in period, but exchanging our bonnets for pith helmets. 

Thursday, March 27, 2014

Chicken Coop Fun (part 1)

In exploring the past, we do more than just make and wear historical clothing. We have many interests including gardening, produce, preserving, and period pets.

We recently had chicken problems. Our old chicken Dotti (standard large red hen) was getting old and lonely. We went looking for companionship for her. Instead of just buying some more standard Isa Browns on point of lay.... we fell in love with a cranky OEG partridge bantam and her 3 babies. As a result we gave the OEGs our commercial coop and built a temporary run across the creek for Dotti.

She loved her new home, until...

1. New neighbours purchased the house next door with little white dogs that yap through the fence at her and also keep escaping into our yard and running around her run yapping at her.
2. We separated the mother OEG (called Lucille) from her babies to get her to stop being broody so that we could get her to lay and stop being cranky.
3. A friend had issues with his own flock of Isa's and asked us to take 2 of his that were point of lay and being bullied. These poor chickens were soo scared when we first got them, they very different hens now.
4. None of them getting along and yes the bantam bullied the Isa's.

This resulted in the run being separated into three and no eggs, due to the stress of the dogs yapping.

To solve this problem we build a new run on the other side of the house to the dogs. To save money we used branches from trees that had fallen down, chicken wire and an old metal framed door from the creek that had been on the property since at least the mid twentieth century. We were also able to line the floor with terracotta tiles that we found on the back lot. For the coop we decided to make a wattle and daub chicken house. We did not have any wattle branches so we used pieces of flexible wood that we had around the garden. The daub was a mix of cut straw, clay from the creek bed and lime mortar that Nic found in some archaeological research papers (we chose not to use dung as research currently has the impression that the quantity in tested specimens is soo low that it could have come from small pieces of dung that came from recycled hay and on testing has made no difference to the outcome of the mix). It took 3 wheel barrow loads to complete the two walls and about 2 weeks to dry properly. The weather has been crazy here so we put a temporary metal sheet roof on it. The next step will be to use some thin pine that was left over from a fence to make a shingle roof. Once it is completed we also plan to lime wash the walls.

This project is more historically inspired and so far is working well. The chickens love the new run. Dotti and the new Isa's (Henrietta and Polly) started to get along straight away. We could not put Lucille in with them and her and Dotti were fighting and Dotti had pecked off Lucille's comb (thankfully it did grow back). We put Lucille back with her babies, but she kept flying out at night (we suspect she didn't like her children on re-introduction) until one morning we found her with the big chickens and she has been happy their ever since. I guess this goes to prove that chickens function better in a nicer and less stressful environment.

The basic run down the side of the house. The branches were put in holes and back filled with gravel and then dirt.
 The framework with Polly and Henrietta supervising construction.
 The daub mixture
 Nic almost finished with the walls.
 The house, waiting for a new roof and white washing.
The chickens enjoying the run.

Tuesday, March 25, 2014

Crowning Glory

After two years my hair is now past my waist. Due to this, I felt it was time I put some effort into finishing making my caps and hair pieces for different impressions to make the most of my hair, when dressing late 1850s to early 1860s.

I have wanted a new evening hair piece for a while now. I love my yellow and black lace evening cap, but it is nice to have a change sometimes. This new one is copied from pictures in various magazines. I used millinery wire, a hair comb, green tape, wax orange blossoms, small pink flowers and green velvet leaves. I think that it is really pretty and compliments many hairstyles.

 Back
Front with back in mirror. 

I also finally made a nice lace cap. I also used various images from fashion magazines including Peterson's and Godey's to create this design. I thankfully had some vintage tiny white flowers left over from my wedding bonnet and some light green ribbon from trimming a bonnet a few years ago. The lace was recycled from Jessie's daughter's first wedding dress, which we had pulled apart a few months ago (the dress was a bustle gown made with a tulle overdress with embroidered net lace). I designed it using three sections of gathered lace with the bottom ruffle gathered onto an oval section of plain tulle.  


Sorry I have no photos of me wearing it. It really is nice on and very fancy.

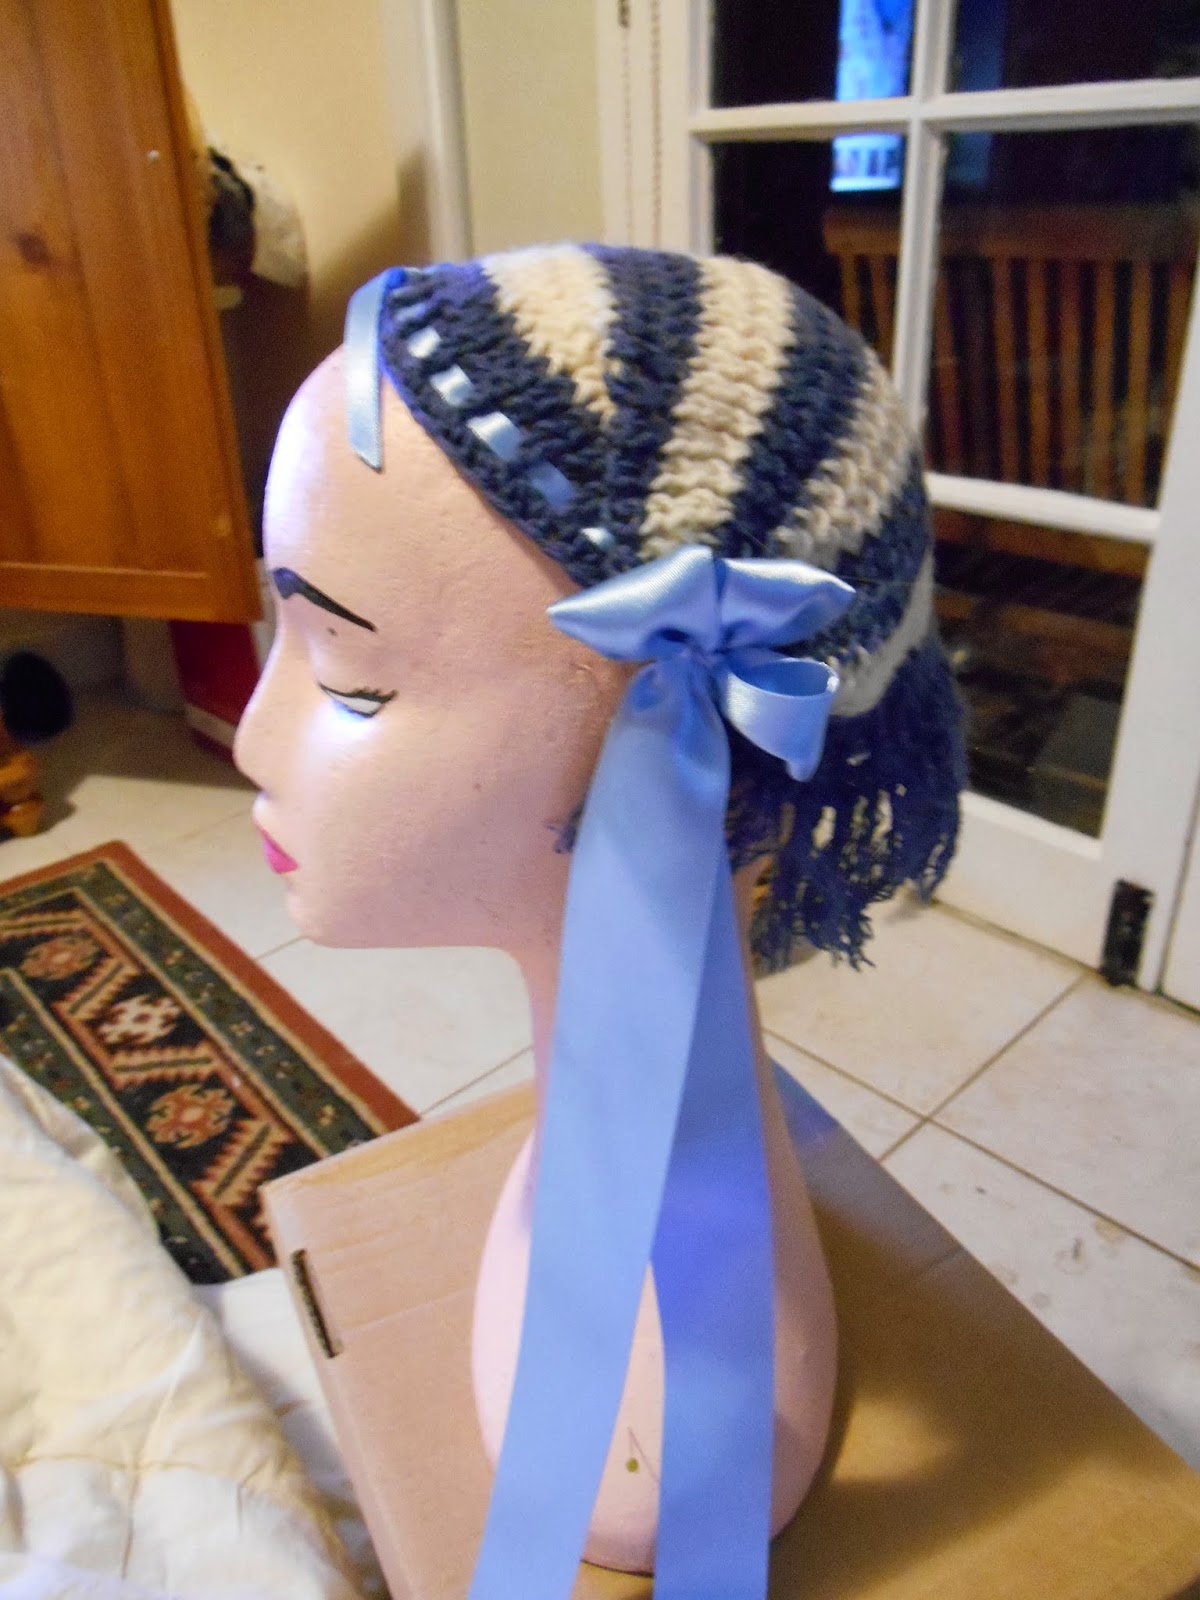
Finally, I have continued with my knitting in making a working class cap by using the Godey's Sortie Cap pattern. I found this very easy to knit as the directions are simple. I used 4 ply wool that was left over from making my garters. There are a lot of people that have made this pattern, some of their suggestions I found very confusing (such as knit an extra setting row... which doesn't work as you drop every second stitch as the end and adding an extra row makes no difference). I would suggest just following the pattern. It seems small when you start, but when the stitches are dropped it gets a lot wider. The completed cap fits perfectly and stays on without claps, even in the wind. I did make one change in placing a ribbon through the front as it was rolling a little (as can be seen in the drawn image, but I didn't like that much).


 Sorry about my creepy mannequin, I am not sure why I painted them this way.


My Dream 1950s Dress

For a few years now I have been in love with this dress from the V&A Museum. It was made in 1957 by Pierre Balmain, in France. I had some amazing organza put aside for this project that Jessie had given me a few years ago. 


Like most projects it was shelved by projects of more urgent need. Thankfully, some friends of ours decided to make their wedding a vintage high tea theme. My version of this dress took me two weeks to make, including the toile stage. 

 My main inspiration was to copy the bodice. As I was using organza this was difficult, but very rewarding. I chose not to box pleat the skirt and instead gathered it using 5 fabric drops (I love the excess, very luxuriant).

I made a fully corseted bodice with a zip up back. The pleating was done first by hand and then I appliqued on the cut out flower designs. Each flower also had to be basted on to lining before appliqueing. The photos do not really show it but the dress is actually cut just below my knee, so it is not really at cocktail length. As I am tall, I decided it was better to have a shorter skirt length.


A photo of myself and my husband  at the wedding. Unfortunately, I do not have any photos of me standing up. I really do love this dress. It wears and feels amazing. I look forward to hopefully wearing it swing dancing one day. 

Tuesday, January 28, 2014

A New Reenactment Group and Lots of Recent Sewing Projects

Well I finished my thesis and had hoped to take a nice break. I ended up getting a week off before beginning the preparations for the re-enactment unit that Nic and some of his friends started recently, The Adelaide Regiment of Volunteer Rifles, 1862-1865. They wanted to create a group that was accessible to anyone to join as well as being progressive in its portrayal and research, with the aim of being as historically accurate as possible. Nic had spent a few months researching and we finally had enough information to begin work. We also had arranged to have our first big event in taking part in the Australia Day Parade in the City on the 26th of January. This left me with a panic attack and just over 3 weeks to prepare.

The first thing that I started making was the units flag. The Anglican Cathedral in the city had 3 existing flags of a similar design from later periods of the regiment, which were all of the same size and construction. From this we assumed that the flag would be one sided and 3 by 4 foot in diameter. Those flags had more decoration and were of differing colours. Thankfully, we also had the description of the flag from the newspapers at the time, which described the colour of the silk and the fact that it had no decorations.

After hunting around for the correct coloured silk, it was fully hand sewn by both myself and my friend Mandi.
The completed flag

Sergeant Davis bearing the flag during inspection before the parade.

I was also kept busy sewing the summer white cotton trousers for the regiment. I ended up sewing 3 pairs. Unfortunately, due to time and fitting restrictions, Lieutenant DeGroot's ended up a little too big and he was unable to wear them for the parade. Once I have recovered I will need to make myself a pair and a new pair for Nic as his bought pair are too tight.

I also had to 'Farb' up a banner for the group for advertisement. There is no historical evidence that they had one, but we did require it for parades and future events to advertise the group to the public. Especially as we often get confused as Civil War Re-enactors and the Foreign Legion. I ended up looking at photos of Victorian Parades and museum banners to create an idea. I then chose the font and printed the lettering from Word to create a template of how it should look. 

 Two sample letters and pieces of paper folded to work out the font size.
 The printed lettering in the desired size to check the layout.
 We also tried a few colour combinations for the lettering, which was made out of felt using the printed off templates to cut around. In the end we settled on the red with black backing. We are also thinking of adding the bugles later.
Mandi and Myself carrying the semi completed banner (depending on if we add the bugles or not) during the parade.

Finally, I had been promising to make Mandi a cotton middle/working class cotton day dress for attending events. She already owned a few amazing silk dresses, however, for some of the events that I invite her to it is more practical and appropriate to wear washable cotton. I was meant to have her dress made for attending the Barossa Goldfields last year. 


The completed dress is the one that she is wearing in the above photo. It has a fitted bodice with waistband and bishop sleeves. I also added a watch pocket into the waistband. The front of the skirt is flat with pleats and pockets with a dog leg closure. The back of the skirt is cartridge pleated. I absolutely love the dress. It is by far one of the best dresses I have made to date.

Monday, January 6, 2014

Catch Up and the Dreaded Mending Pile

Well I have finally completed my degree and my honours thesis. So now that I have taken a few weeks to overcome the trauma induced by stress and study, it was time to get back to my sewing.

After winning the war over my huge starching and ironing pile (the only negative to reenactment and historical costuming) I was left with a huge mending pile. My husband loves his period shirts and has worn many of them to death. He says that the wear and tear make them more period correct, but no self respecting housewife would let her husband out in those shirts (in my opinion). Nic has 5 shirts and every one of them required repairs. These repairs included button replacements, holes, tears, slits, worn cuffs.

I find that there are many different ways that I mend shirts. I am not sure how historically accurate they are.

Cuffs - Nic wears out cuffs a lot due to wear and washing (black powder colours the fabric and requires bleaching and scrubbing at times). On the first repair I slit the seam and turn it under. On the second repair I completely replace the cuff. By turning it under it extends the life with a lot less waste and work.

The top cuff shows the worn fold of the cuff. The bottom cuff shows it slit and turned under, I then whip stitch the seam closed. This is a quick and easy way to extend the cuff's life, but can only be done once as it makes the cuff thinner and is impeded by the buttonhole.


Under Arm - this shirt was made for Nic by his dressmaker before we began dating. The gussets did not line up and had no reinforcing. As a result of age and use it ended up with a huge hole in the undersleeve. It was too big for me to darn, so I whipped the edges to the sleeve under-flaps to prevent further tearing and fraying.


I also used this technique on a hole on one of the shoulders where the gap was too big for me to darn (I know that some people can probably do this, but I honestly find darning hard and tedious). 


General Tears -
While I do cheat on some holes, I will darn when it comes to slits that are easier to close. This is a nice little "L" shape tear on one shoulder that is about 1" (2.5cms long).


I have yet to touch on my own mending pile yet and I still have one shirt that I am continuing to darn against my own wishes. Maybe I should let you decide if its worth it. So far Nic has outvoted me and wants it repaired for use as a Napoleonic Private. I have currently only finished just over an inch of the darning. Its a big job.


The Challenge: #1 Make Do and Mend
Fabric: -
Pattern: Year: Various - Napoleonic, 1830s, 1850s and 1860s
Notions: Cotton and Linen Thread, various buttons (bone, pewter and porcelain)
How historically accurate is it? Not sure
Hours to complete: Continuing, a little every evening
First worn: -
Total cost: thread and buttons from stash