Sunday, May 10, 2020

Pioneer Women's Walking Trail

Over the years we have moved away from organised events and towards more private living history experiences.  Lately,  we have found these to be more enjoyable and fulfilling.  I hope that by blogging our adventures we may help to inspire others to enjoy their lives and love of history without being limited to attending events. I often see comments online
similar to,  "I wish I had somewhere to wear historical clothes...". We only get one life,  so as long as no one is being hurt,  I want to live my life to the fullest. 
Near our home in the Adelaide Hills there is a famous historical walking trail.  The first German Lutheran settler women would walk this trail from Hahndorf into the city of Adelaide to sell their produce. The full trail was over 35kms one way.  In the 1980s the trail was identified and parts of it were repaired and marked for modern pedestrian use. We hope to one day walk the full trail in period.
Today we walked the 3km section of the trail between Verdun (originally known as Grunthal) and Bridgewater (6kms return). This track is stunning at this time of year.  The recent rains meant that the creek and waterfalls were flowing. 
The Autumn leaves also made for a very picturesque scene. The walk had multiple steep inclines and even a stone creek crossing. 
Near the start of the repaired trail at Verdun we found the most amazing giant red mushrooms. 
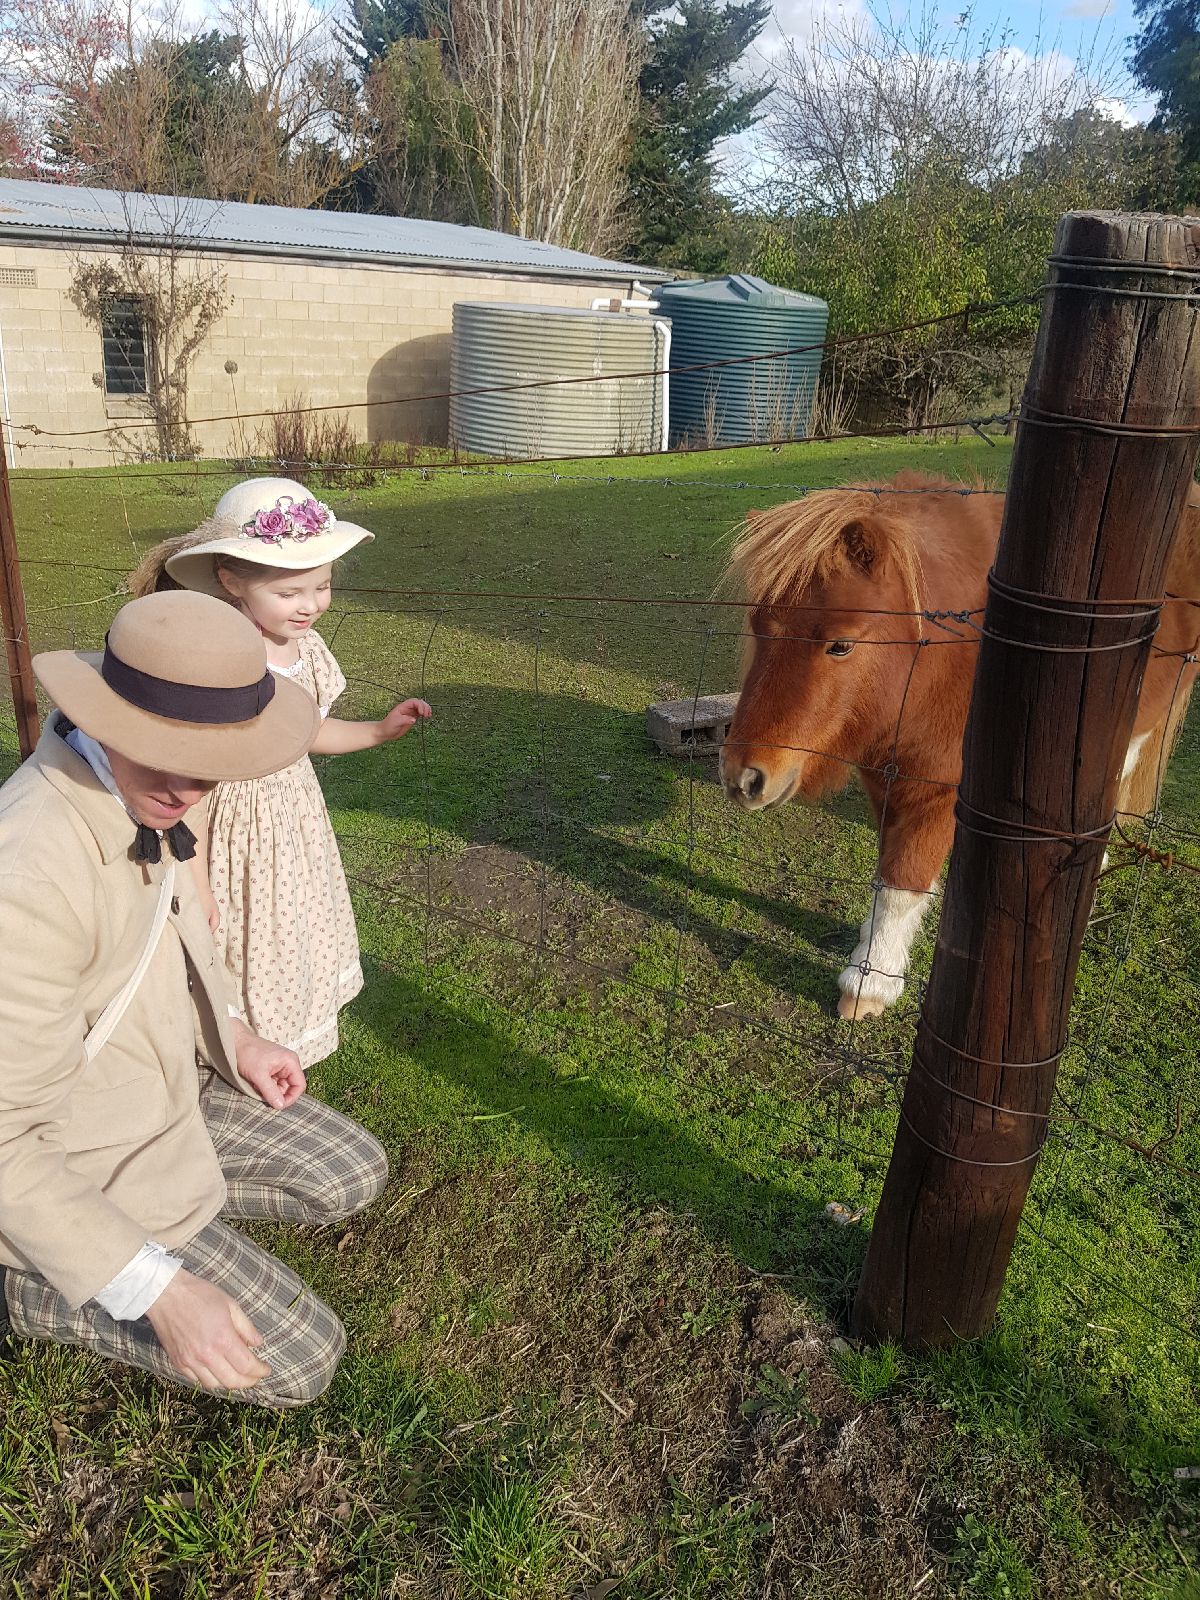
There was also a miniature steed.
This was a beautiful walk and we should highly recommend it for either historical or modern adventurers. 

Thursday, April 23, 2020

1850s Walk up Mount Barker

Today we decided to go on an ISO walk up Mount Barker. The walk is 1.2kms from the road to the summit. It is quite an incline,  but has an amazing road to walk on. The small stones are more hazardous on the decent. 
We were blessed with a beautiful sunny Autumn day in the 20sC. 
The last .2kms of the walk is a narrow path with a variety of native trees.
Miss Amelia May even found one that she could hide in. 
At the Summit,  we had a picnic lunch and water from our torpedo bottles. 
Nic brought his telescope and went exploring while we sat and attempted painting watercolour paintings. 
On our return walk Nic made Amelia a hankie flag that made her extremely happy. 
I love our living history walks. We always have an amazing time. 

Tuesday, March 10, 2020

Re Shaping A Straw Hat c.1860s

I've been needing a new hat for a while now.  Most of my straw hats are late 1850s and early 1860s. Lately, I've been focusing on 1861-1866. My wide brim hats,  while beautiful and suitable in the Australian heat, are not as fashionable. 

I found 2 very damaged straw hats in an op shop for very little a few years ago.  They had a circular high crown with a circumference too small for my head. 
I needed to make it larger,  flat on top and oval.  I pulled out all the thread and soaked the straw in hot water. 
Once wet I pinned the straw with long quilting pins. I then sewed the straw into shape.  When wet the straw is very flexible.  It will even dry warped if you leave the pins in.  Thankfully another soaking will help smooth it out. 
Once it was sewn I steamed it smooth and into the desired shape. 
My hats get a lot of use and from experience I've learnt to always reinforce my straw shapes.  I tacked milinary wire to the inside of the brim.
Next is my favorite part.. trimming. I reused ribbon from a bonnet with too long ties. It was too short, so I left a gap in the front.  I tacked the ribbon and added extra gold ribbon from my scrap stash.
Next I placed flowers from my milinary box.  Most were birthday gifts from my husband when I was pregnant. I twist and pin the flowers until I have a design I like. 
Once nice I tack them on, not worrying about how neat it is inside. 
The reason it does not need to be neat is because I will line the brim with silk.  I cut a strip of silk the width of the brim with seam allowance included.  
I then ran a single father stitch and tacked it just inside the edge of the brim. 
Once fully attached you can pleat or gather the silk into the crown. I like to pleat and I'm not over careful as the brim is curved which changes the way it appears anyway. I tack the silk down with a curved needle. 
From here I have 3 options depending on how OCD I feel about a part of the hat no one will ever see.  I can full bag line it on cotton,  I can trim and bias tape the silk edge or just whip stitch the silk ends in place.
As the silk is shedding bad I decided to bias tape the edge as leaving the top unlined will hopefully help with air flow when it is very hot. 

Sunday, February 16, 2020

Tea Tree Gully Heritage Museum

This weekend we were invited to help celebrate the first open day of the Tea Tree Gully Heritage Museum for the year. We have never visited this museum before and we were very excited. 
This is an amazing museum and is well worth the visit.  They are open on the third Sunday of every month and each month they have a different theme. Inside they have a tea room. For only $6 you can treat yourself to a cup of tea our coffee with either a sweet and savory scone option. Their scones were devine.  They also have a small shop with beautiful handicrafts on sale.  Miss Amelia purchased 2 adorable knitted polar bears that we have not yet been able to separate from her.  
The building itself is a beautiful 2 story with an amazing collection of antiques to admire, as you strole through the rooms.  Outside is a surprisingly large garden that has been lovingly cared for by the volunteers. There are also a number of outbuildings to explore that are staffed by enthusiastic and well informed volunteers.  Amelia loved the sensory room that had touch and guess boxes,  scent boxes, a farm imaginative play table and a small mill where a lovely gentleman assisted her to mill some wheat into flour.  Miss Amelia loved this experience and is excited to make bread and cookies with her flour (I may have to provide some extra flour as she only milled a quarter of a cup).
As normal,  the unit presented multiple displays. Each display demonstrated a different skill from their manual of arms and platoon exercise.
The museum is surrounded by beautiful gardens and next door is the historic building the Fox and Firkin Pub, where you can purchase a refreshing drink and meal surrounded by it's historic atmosphere.

Sunday, January 19, 2020

Toiling a New 1860 Chemise

For the past few years all my sewing seems to have been focused on Amelia May, Nic or mending.  My wardrobe is sadly in need of updating.  Much of my undergarments were made for my wedding 10 years ago this November.

I came to this realisation 2 weeks ago when repairing inner seams on some drawers and replacing hooks and eyes on bodices. Somme of the hooks were seriously deformed. 
When I first started in living history I only had basic sewing knowledge. I've now made so many amazing garments I figured it was time to make something special for me.  10 years ago I purchased this book '60 Civil War-Era Fashion Patterns'. In this book is a collection of patterns from Peterson's Magazine. It has had years of ogling and post-it-note plans. I've now decided to actually start making some items I've dreamed of for years. 
Due to my needs, I chose to start with the 1860s chemise. I really try not to reinvent the wheel. I had 2 similar period patterns that I was able to adapt to help me make my pattern. 
Simplicity 2890 had the same front and back shape,  as well as a similar front panel and sleeve. 
I then had to adjust the front panel to match the pattern diagram.
As I knew this was only a learning exercise I decided to make it issuing a fitted sheet that was in excellent condition,  but it's elastic had decomposed, so it was no longer usable. I purchased some cheap cotton ribbon for this chemise with the intention to use nicer vintage ribbon later on a finer version. 
Once I had my pattern I made multiple pin tucks to get a size and distance that would balance nicely. 
I also discovered that pin tucks and insertion lace can be quite tricky to do together.  In the past I've only ever seen one or the other. This took me a few days to perfect as the illustration and diagram had different pin tuck directions. after trying both I found the diagram with the tucks in facing the same direction was far nicer looking. I also had to adjust it a few times as my original pattern was too long. 

For the gores I was able to use another Simplicity pattern.
I did have to adjust it to be a slight bit shorter. Some patterns skip the gores,  but I believe they make the chemise stronger and help it to sit nicer around the hips while having less fabric around the waist that can be bulky under a corset. 

The buttons are small shell buttons that I purchased years ago from an op shop.  They had been salvaged from garments that were not saleable.
The chemise came together very smoothly due to adapting the pre made pattern pieces. While it took longer than expected I now have an amazing chemise that is very comfortable and a completed pattern.  I am also looking forward to constructing the nice version with finer and wider insertion lace. I just need to find a matching edging lace. 
The front of the completed chemise. 
The back of the completed chemise.