Friday, December 30, 2011

Regency Christmas Picnic

This year for the Regency Christmas Picnic I was lucky enough to have no sewing backlog so that I could start a new upper class dress for the occasion. Two years ago I purchased a few meters of a lovely embroider anglais fabric in an ivory voile. The embroidery went about a meter high so it would be perfect for the bottom of a regency dress. To get ideas I looked at many different dresses and went to the visual expert (my husband) to pick a final dress to copy. His choice was the 1804 dress worn by Elizabeth Patterson in the Met Museum online collection.


I had not previously made a Regency dress from that time period so I had to fully draft the pattern toile from scratch. The neckline is lower at the front and the bodice starts higher.Another problem was how to design the back of the dress as I was unable to find any close up images of the back. From the distance image I was able to find a dress that looked similar at a distance, which had a close up view from the same time period. After printing photos out, lots of drawings... I finally came up with a concept of how I could construct it. by using a standard side back and extending the centre back I could create the gathers in the back, which would be held down tight from the weight of the train. The skirt is then attaches straight to the side back and gathered under it, tacked down then stitched straight to the extended centre back. It used 3 strings one top drawstring, one lower and a thicker decorative string to pull the sides in to create the lovely V shape.


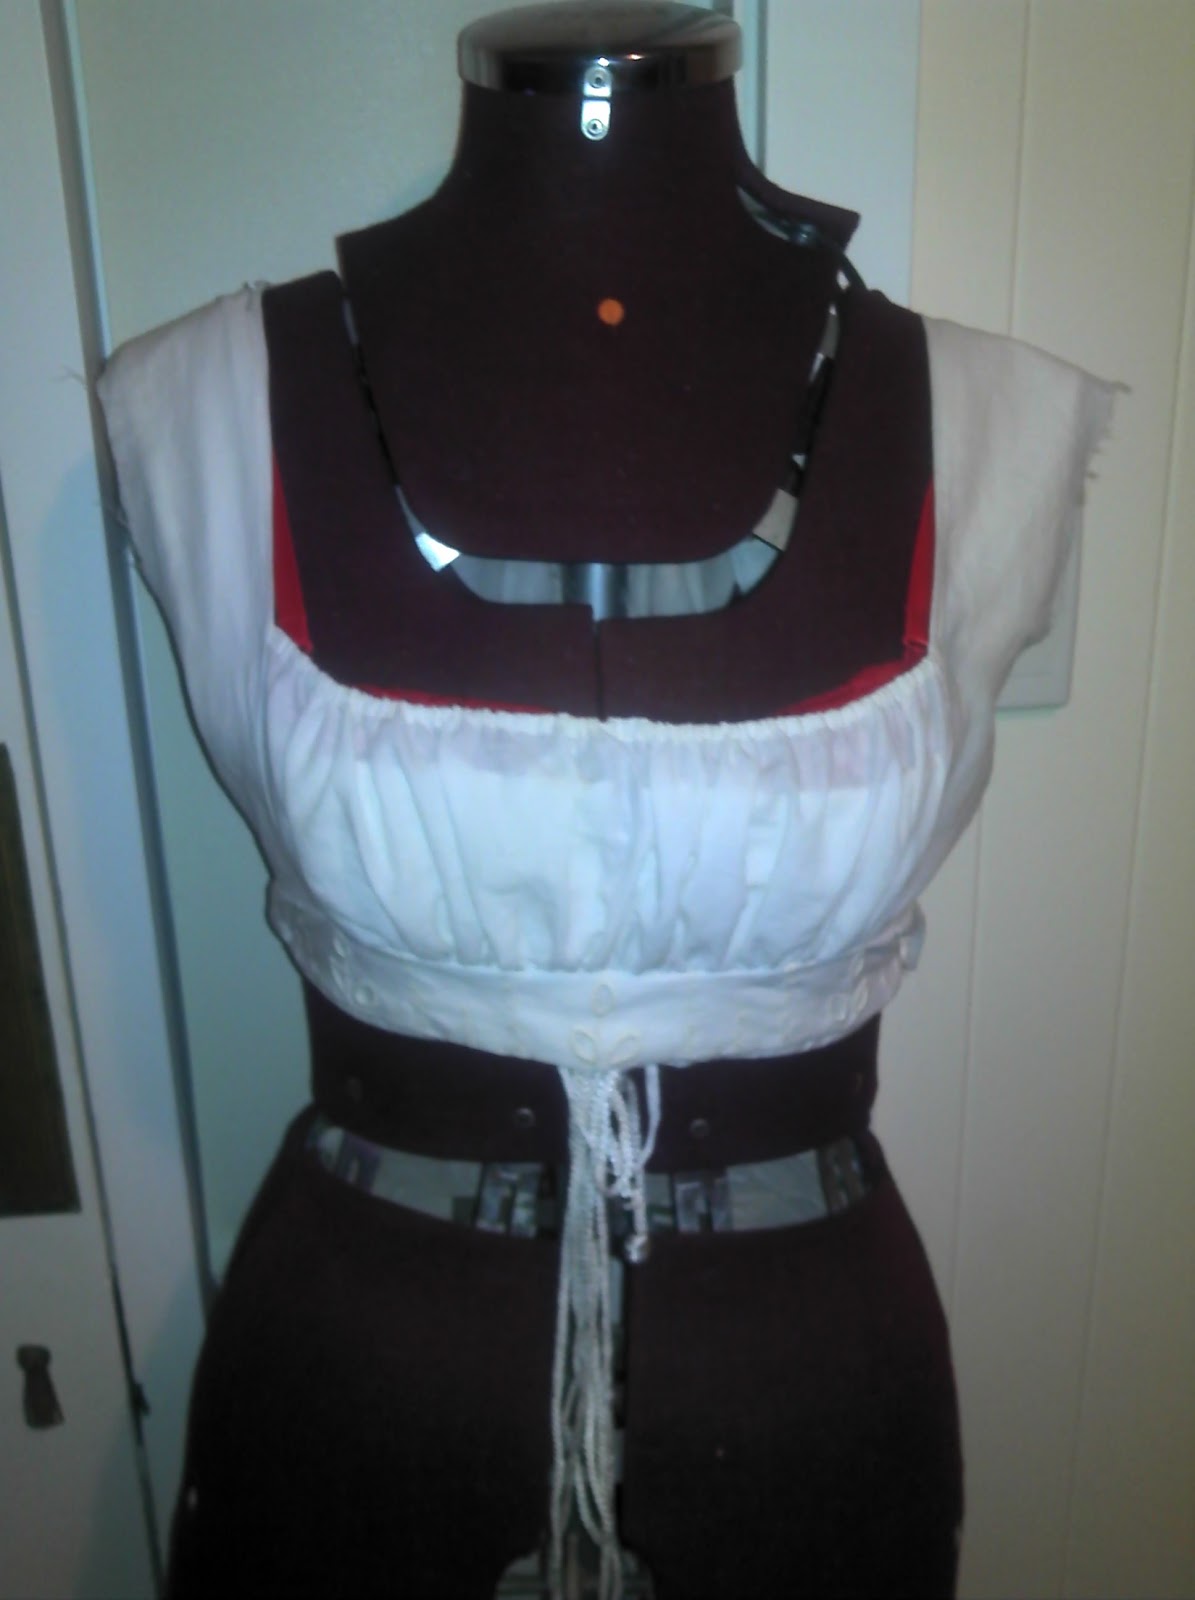
The front was far simpler to create, but it did take a few toiles to get it to sit right as it still has a gathered front on the square. The front decorative waist panel also had to be measured to fit in with the design of the fabric and the fit of the dress. I was also a little more modest in the fabric used...  Im not overly keen on exposing too much front.


The sleeves also created an issue with their double ruff. In the end I created a short puffy sleeve and taked on a gathered tube. This created the desired affect very nicely. 


The completed dress.


The dress was mainly hand sewen, all but the long seams that I machined sewed. This is quite an achievement for me and I am very proud as I had not drafted a dress from an image before. Its really nice to hit another milestone in my sewing journey.

The picnic itself was wonderful. The weather was lovely and warm and the food was devine. Our small group allocated dishes to each couple to prepare that were all Regency appropriate. We also took a tea set, rugs and cushions to enjoy the day in style.

Wendy laying out the table with Derrek's assistance.

Nic preparing himself for lunch with a light refreshment of port.

Full view of our dining and reclining area.

Nic and myself after the picnic.

The back of my dress in fully glory.

And the front.

Thursday, November 3, 2011

House Warming

For our 1 year wedding anniversary we decided to hold a house warming/wedding anniversary period style. As could be expected for our first home we purchased a period stone cottage. We currently have it dated to the 1880's, however, it is of an early building design and features from the 1850's. Either way we still love our home no matter when it was built. Our housewarming was a wonderful day of baked delights, Nic's own recipe punch and wonderful company.

Our Wonderful Home
Main Bedroom - the bed was a gift from the previous owners.

Sitting room.

Guest Bedroom

 Nic's Private Study

Open Plan rear of the house

The Party


Monday, October 3, 2011

Taminick 2011 and Last Minute Sewing

This year we were able to attend the Taminick Military Encampment Weekend in Victoria. It was during the second week of my mid semester break so I had a furious week of sewing to prepare. Nic required longer sleeves on his Brunswick Jacket and I needed a summer weight dress as I only have one for the cold, and new linen petticoat. As always I ended up sewing on site, which provided me with an activity while waiting for the water to boil for coffee and gun cleaning.

Thankfully the sleeves and petticoat were completed before we left for the event.

 Sorry I have no photos of the petticoat, but I do have some of my handsome husband in his new sleeves.

 Sewing my summer weight dress with the last of the light.

This dress was made for warmer days at the campsite for ease of wearing and with a shorter skirt to avoid the mud and wet grass. 
*Dress done now for the hat ribbons.


 The competed trimmed hat.

The weekend was very busy with constantly changing weather from rainy and cold, to sunny and warm,. The men were kept busy during the day with multiple black power musket, rifle, cannon and drill competitions. During the evenings there was entertainment to be had around the fires and on the Saturday evening we had an impromptu dance that was a highlight of the weekend for all who participated.

Nic shooting laying down, in the Sniper Shoot, he came first with a score of 94/100 at approximately 90 yards.

Parade on the final day. Unfortunately due to the poor weather on the preceeding days there was a lack of numbers as many left early the night before.

Monday, June 27, 2011

Evening Gown

It has taken a year, however, I have finally completed the skirt for my evening bodice. Thankfully it was finished in time for my first ball.


On saturday 26th my husband and I attended the Grand Colonial Ball at Town Hall. It was a wonderful event and a lot of fun (even though we had no idea what we were doing for most of the evening). I even managed to dance a hole in my slipper (the sole decided it wished to become detatched).Due to attending the ball I also managed to complete my first head dress based on different aspects of fashion plates that I liked.


I am now on mid year break from university studies so hopefully I may get some more of my multiple projects completed.

Just a quick addition, our photo at the ball was featured in the Sunday Mail. Another proud moment.

Thursday, March 31, 2011

Tan Fall Front Trousers Completed

For a while now I have been dreaming of tan trousers... after all what man doesnt look good in a nice pair of fitted fall front trousers. It took a long time to find the fabric as it is difficult to get a medium weight woolen tan fabric. Thankfully a girlfriend managed to get me some woven tan wool. I did have to be careful as she was only able to get me 1.4m of the fabric. Thankfully Nic is quite thin so this was just enough wool.

Tan Woven Wool.

 Nic wanted me to use his Brunswick fall front trousers as a pattern for the tan trousers. The pattern that I had from his seamstress was very basic and not well fitted. I ended up making three toiles until I finally had one that I was happy with. I referenced Late Georgian Costume many times in making the toile. I think that it is a very useful book for this period.

 Finished Toile ready for cutting out.

*New tip that I was taught by a friend. When sewing darts they will sit smoother if one doesnt backstich over the end of the dart. Instead run off the fabric smoothly and then tie the ends of the threads together to stop the thread from coming loose.
I have now started tying a knot at the end of the dart.

Unfortunately the woven wool freys badly, this meant that I had to had sew down the fabric in a flat fell the inside leg seams to preven the freying.


 The lining is interfaced with horsehair.

I had metal shank buttons made using the tan wool. The suspender buttons are bone and are placed inside of the waste band.

The completed pants front.

Completed pants back.

Nic wearing his pants in a presentation on colonial Australia.


We are both very happy with how the pants turned out as he can wear them as pants with shoes or with boots due to the skinniness of the legs.... well until I get the time to make him some panteloons.


Thursday, January 20, 2011

Black Velvet Swiss Body - in progress

I have decided to make a black velvet swiss body to provide a sporting look to go with a green with silver shot dress that I hope to make later this year. The dress will of course be a two piece so that only the skirt will go with the body.

I purchased the pattern from Heidi Marsh ages ago when I first started sewing. Once I had made the toile of the body I realised that the patter was quite a waste of money as it is only a deep necklined bodice pattern, minus sleeves. It would be very easy to adjust any previously fitted bodice toile to make this swiss body.

Swiss Body Toile


 I altered the toile a lot to get the shape I wanted and to get a nice fit. I decided to make the body in black cotton velvet with a black cotton lining. The piping was made myself with the left over velvet and 1/16" piping cord. The velvet is still quite thick and required tacking stiches to flattern the seams.

Outside bodice with neckline and one armhole completed.
 Body lining


 Armhole, pinned for hand sewing to attach the lining to the front and piping.