Unfortunately, my holidays from university are coming to an end. I am finding that I have no where near enough time to complete all the tasks that I had set for myself. Not that I can complain, as a few days were lost in a wonderful surprise trip to Melbourne to see the Napoleon Exhibit. This week I have finally completed my Regency Linen work apron. It is completely hand sewn. I am finding that I am undertaking more and more handsewing as I feel more comfortable and confident. I have been needing this for a few years now and is perfect for when on campain and required to work around the fire. I have also found it to be useful around the house and garden, as it is really very comfortable.
After we got home from Melbourne, Nic decided that he needed a new waistcoat. I found him rummaging through my fabrics and about to cut into some fabric purchased for pants. Thankfully I got to him in time and redirected him to the waistcoat fabrics. Yes, I know Im strange, but I always purchase in quantaties for the projects in mind and I hate wasting good fabric when it is so hard to come by here. I was also very happy as Nic had not undertaken any sewing since our marriage, when he received some constructive, but not very nicely worded feedback on his last sewing attempts. This time he worked on it with my assistance and leaving the finishing touches and hand stitching to me to complete. It took two days and looks stunning. I think he should be very proud of his achievement.
Finally, I have also completed two 1830s linen caps to wear under bonnets. It is really nice to sit by the fire in the evenings and hand sew by candle light. Small projects like this one are perfect for these times. They are a very strange shape, compared to the periods that I am accustomed to. I have been told that it is very flattering, but I think the jury is still out on that one. The first I made for myself and the other for Jessie.
Tuesday, July 17, 2012
Thursday, July 5, 2012
Regency Petticoat for Jessie
On Tuesday I was meant to be taking part in a 1800-1900 reverse strip fashion parade for the Freemason wives, during their monthly meeting. As the lady who was wearing the Regency attire did not have the undergarments required I had offered to lend my own. Fortunately/ Unfortunately, my husband did not know of these plans and booked us airfare to Melbourne for the same day. In Melbourne we are to attend the Napoleon Exhibit in period. This meant that I am no longer able to lend out my undergarments.
Thankfully, I recently partook in a fabric swap with my good friend Jessie. She gave me some trims and brocade fabric to make myself a wrapper and I provided her with linen to make herself a regency petticoat, an item she was sadly lacking in. Jessie will be attending the fashion parade and agreed to loan the new petticoat. She, however, had recently broken her reading glasses and was struggling with her own projects and feeling a little unwell. Due to this, I offered my time today to construct her new petticoat. It was also only fair as the linen did not cost overly much.
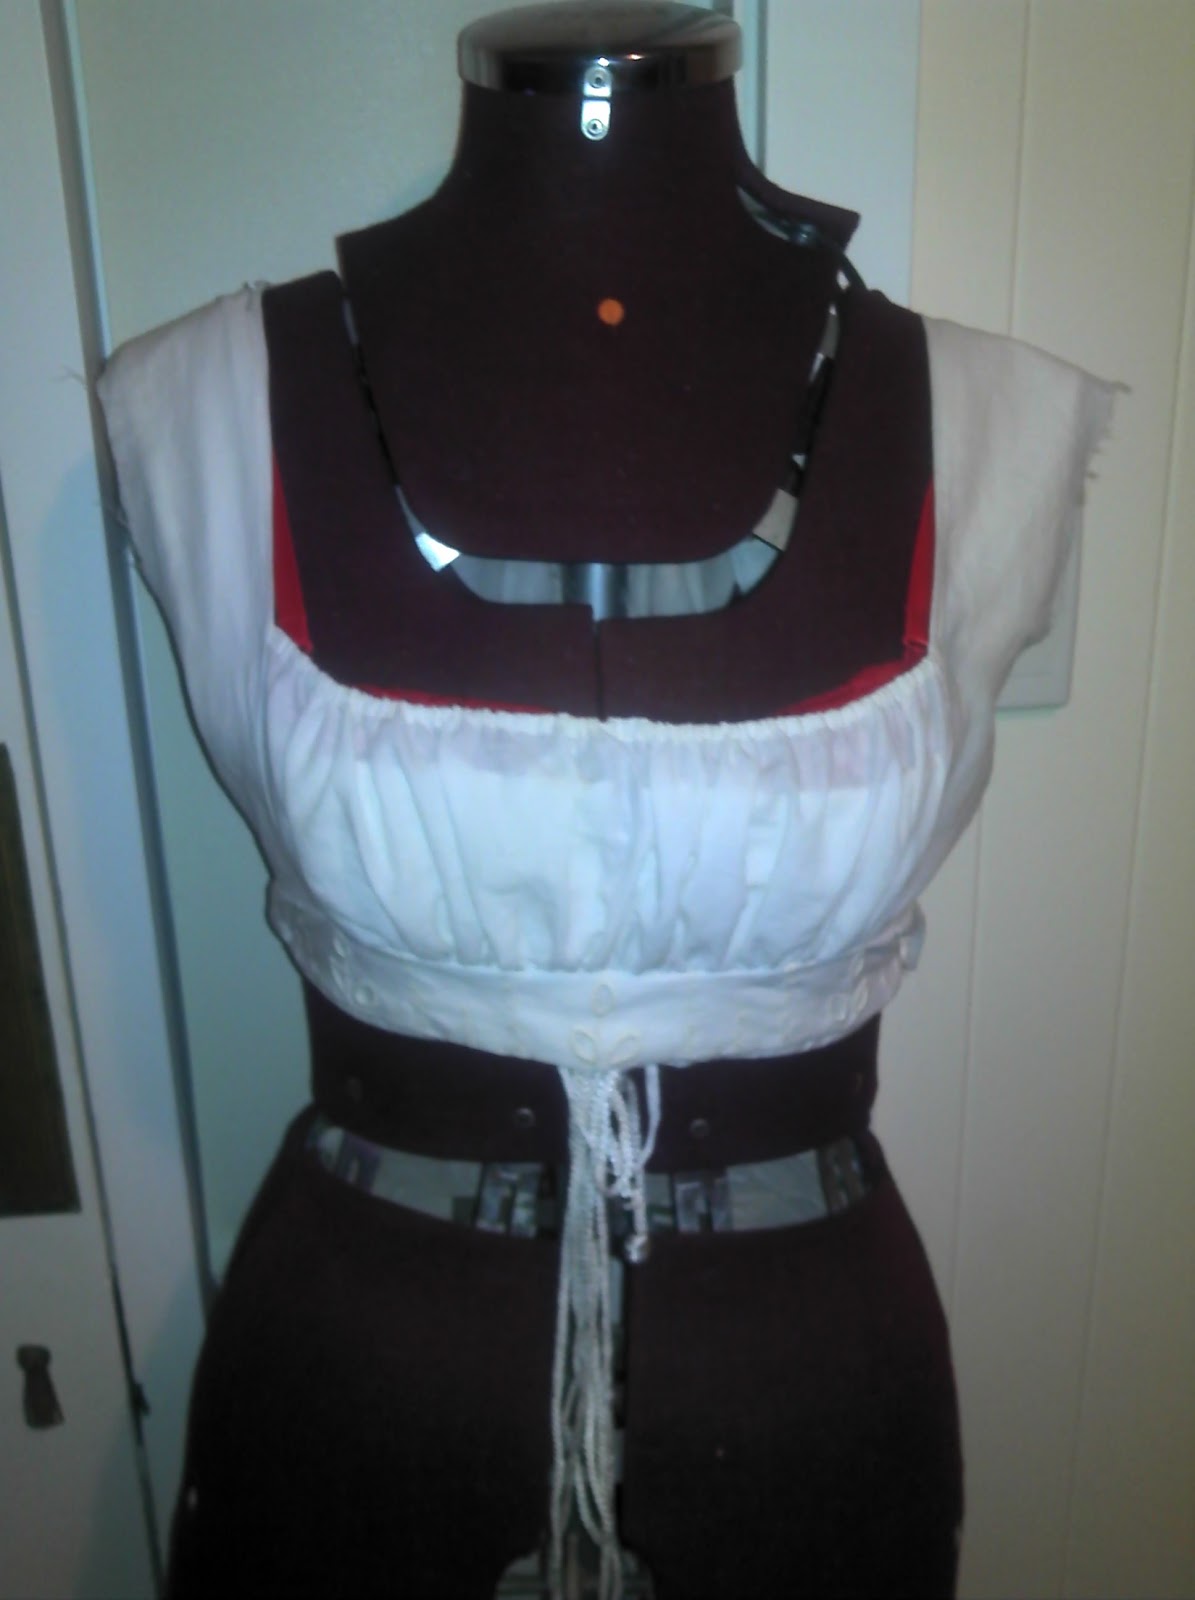
Jessie required the petticoat for use under Regency gowns dating from 1800 to 1820, so I fashioned the petticoat for the earlier period, which has thinner shoulders. I also added extra fabric to make the petticoat draw string around the neckline and under bust area. Many ladies suffer from weight fluctuations at times and so the drawstring would accommodate this and expand its period of usefulness. I would love to have had the time to finish all of the seams by hand, but even with the machine sewing I am very happy with the result.
The completed petticoat front view.
The completed petticoat back view.
Monday, July 2, 2012
Evening Odds and Ends
After a long day working on the larger projects its nice to cuddle up on the couch with a nice warm fire and do some small hand sewing projects while watching a nice show on tv.... or kittens attack each other if you have that option.
I am enjoying being so busy catching up on all those half finished or never started small projects that I keep in many little seal lock bags in a basket under the bench. Seeing that basket get fuller and fuller is very depressing, but finally I have started to get through it and it feels great. Three weeks of holidays to go and I am very happy with my progress so far.
As there was some of the linen from the apron left over, Jessie gave it to me to use to make myself a Regency work aron. It is amazing how quick they are to make with simple hand stitiching. I chose to make mine a cross over back to ensure the shoulders do not slip off while working. I am hoping this apron will come in a lot of use in the garden and when cooking over the fire on campaign. I am alos hoping the colour will do well to hide a lot of dirt and coal smudges I often seem to find on my dresses.
to be completed....
Leopold and Dinah.
Wonderful entertainment when not attacking my hand sewing or my sewing machine.
I have just finished this apron for Jessie, a very dear friend of mine. She has arthritis and so she struggles sometimes with cutting out and hand sewing, so I enjoy sewing small projects to help her out. This apron is made of a lovelly rough linen and makes a perfect work apron.
I have also made her this 1850s lace cap with some spare lace that she had from an old dress. It is a wonderfull feeling to give fabric a second life and to help out a friend.
The back of the lace cap.
to be completed....
Thursday, June 28, 2012
1830s Frock Coat - Frustration... Lining and Tail Finished
As it is the 175th aniversary of the colonisation of our state, I am slowly working towards creating 1830s outfits. As I am still new and unsure when it comes to tailoring coats I decided to purchase the Reconstructing History 1830s Frock Coat pattern as it seemed similar to those in 'Men's Garments 1830-1900: A guide to pattern cutting' and 'Making Costumes of the Eighteen-Thirties: Volume 2'.
The basic body toiled up quite nicely with only minor adjustments needed. The issue that I found with this pattern had to do with the sleeve cuffs that only have 4 instructions that make no sense whatsoever... I mean who puts buttonholes down the fold line? I did email the company for clarification of their construction, however, they never responded back. Highly disappointing as their help line was one of the reasons why I chose their pattern. In the end I discarded their sleeve cuffs and drafted those from the book ' Making Costumes of the Eighteen-Thirties' by Brian Reader. Another problem with the pattern is that it omits the tail pockets and facings from the illustration. These I also had to draft from the book. Over all I was very disappointed with this pattern and will probably not purchase from them again. I do highly recommend the book as it goes into very good detail about how to construct different male garments of the1830s, even though it does contain some modernities such as iron on interfacing and over-locking. These, however, are not big issues.
For the lining I have hand quilted cotton flannel to the linen lining. The flannel holds amazingly well to the worked horsehair. I am hoping that by doing a lot more work on the jacket's insides it will create a far better finish. The lining shape was heavily adapted in the toile stage and then used to create my own pattern for the interfacing.
As Nic requires glasses I have included a pocket inside the left hand breast lining as this jacket will be required for leisurely afternoons undertaking gentlemanly pursuit of shooting.
As mentioned I had to draft my own tail pockets and facings. I think they turned out well. I chose to pipe the facings in black velvet to tie in the top collar, which will also be in black velvet. This took me three full days to complete... and a big headache... so I will take a day off tomorrow to work on my 1830s dress.
The basic body toiled up quite nicely with only minor adjustments needed. The issue that I found with this pattern had to do with the sleeve cuffs that only have 4 instructions that make no sense whatsoever... I mean who puts buttonholes down the fold line? I did email the company for clarification of their construction, however, they never responded back. Highly disappointing as their help line was one of the reasons why I chose their pattern. In the end I discarded their sleeve cuffs and drafted those from the book ' Making Costumes of the Eighteen-Thirties' by Brian Reader. Another problem with the pattern is that it omits the tail pockets and facings from the illustration. These I also had to draft from the book. Over all I was very disappointed with this pattern and will probably not purchase from them again. I do highly recommend the book as it goes into very good detail about how to construct different male garments of the1830s, even though it does contain some modernities such as iron on interfacing and over-locking. These, however, are not big issues.
For the lining I have hand quilted cotton flannel to the linen lining. The flannel holds amazingly well to the worked horsehair. I am hoping that by doing a lot more work on the jacket's insides it will create a far better finish. The lining shape was heavily adapted in the toile stage and then used to create my own pattern for the interfacing.
As mentioned I had to draft my own tail pockets and facings. I think they turned out well. I chose to pipe the facings in black velvet to tie in the top collar, which will also be in black velvet. This took me three full days to complete... and a big headache... so I will take a day off tomorrow to work on my 1830s dress.
Finished pocket facings close up
Inside the pocket
Full placement
Ekkkk messy tail inside, till the skirt lining goes in.
Sigh, the next task is the collar.....
Random Stuffs
Well I haven't done much sewing in the last few months, but I will be very busy stitching for the next three weeks. Either way I have been up to some things so I decided to put up a few more photos. I know I change hair colour a lot... thankfully I have long hair so it doesn't create an issue with hair pieces...
1850s Hair
Regency hair
Nic and myself at Government House
ohh I have sewn one thing... Nic's new regency night shirt... lol.
Tuesday, June 26, 2012
Heritage Ball
I know this blog has been a little silent of late, however, I have been very busy with university studies. I now have four weeks mid year vacation and hope to catch up on my sewing projects and blogging.
To start my holidays I attended a very small heritage ball with some very dear costuming friends. We had a wonderful and exhausting evening.
Rui, Jessie and Aaron
Chris, Anne and Colin
Myself and Nic
Friday, December 30, 2011
Regency Christmas Picnic
I had not previously made a Regency dress from that time period so I had to fully draft the pattern toile from scratch. The neckline is lower at the front and the bodice starts higher.Another problem was how to design the back of the dress as I was unable to find any close up images of the back. From the distance image I was able to find a dress that looked similar at a distance, which had a close up view from the same time period. After printing photos out, lots of drawings... I finally came up with a concept of how I could construct it. by using a standard side back and extending the centre back I could create the gathers in the back, which would be held down tight from the weight of the train. The skirt is then attaches straight to the side back and gathered under it, tacked down then stitched straight to the extended centre back. It used 3 strings one top drawstring, one lower and a thicker decorative string to pull the sides in to create the lovely V shape.
The front was far simpler to create, but it did take a few toiles to get it to sit right as it still has a gathered front on the square. The front decorative waist panel also had to be measured to fit in with the design of the fabric and the fit of the dress. I was also a little more modest in the fabric used... Im not overly keen on exposing too much front.
The sleeves also created an issue with their double ruff. In the end I created a short puffy sleeve and taked on a gathered tube. This created the desired affect very nicely.
The completed dress.
The dress was mainly hand sewen, all but the long seams that I machined sewed. This is quite an achievement for me and I am very proud as I had not drafted a dress from an image before. Its really nice to hit another milestone in my sewing journey.
The picnic itself was wonderful. The weather was lovely and warm and the food was devine. Our small group allocated dishes to each couple to prepare that were all Regency appropriate. We also took a tea set, rugs and cushions to enjoy the day in style.
Wendy laying out the table with Derrek's assistance.
Nic preparing himself for lunch with a light refreshment of port.
Full view of our dining and reclining area.
Nic and myself after the picnic.
The back of my dress in fully glory.
And the front.
Subscribe to:
Posts (Atom)